Chưa có sản phẩm trong giỏ hàng.
Review sản phẩm
Những mẹo và thủ thuật AirPod tốt nhất để làm chủ tai nghe của bạn
24
Th9
Th9
Giới thiệu Best AirPod tips and tricks to master your earbuds
Các mẹo và thủ thuật tốt nhất để làm chủ tai nghe không dây của bạn
#Đánh_giá_sản_phẩm_Airpods_tốt_nhất_và_mẹo_trick_hay_nhất_để_thạo_hơn_cái tai nghe của bạn
#Queen_Mobile – mua_ngay, trải_nghiệm_vượt_trội
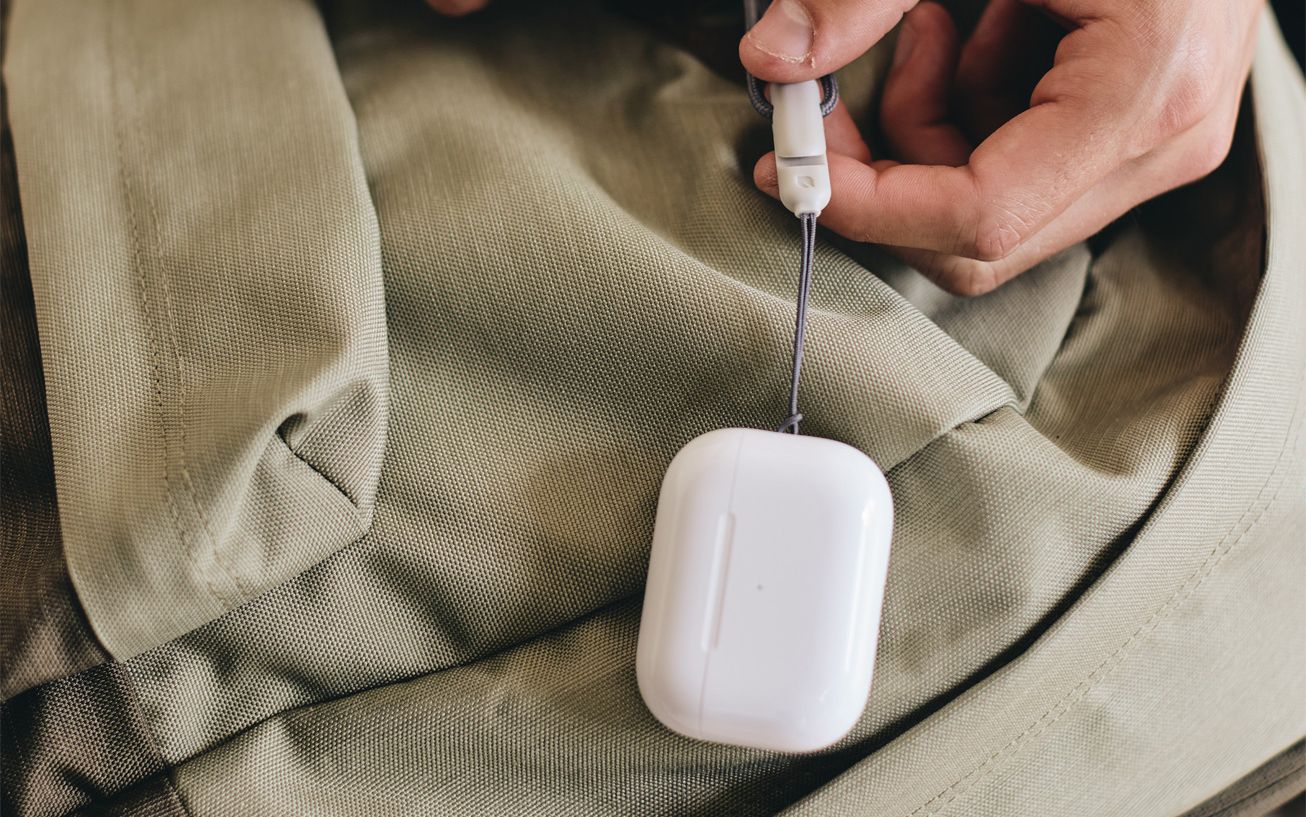
Tai nghe AirPods đã trở thành một biểu tượng của tiện ích và xu hướng công nghệ hiện đại. Với thiết kế không dây tiện dụng, âm thanh chất lượng và tích hợp các tính năng thông minh, chúng mang đến một trải nghiệm âm nhạc tuyệt vời cho người dùng. Để bạn có thể tận dụng hết tiềm năng của sản phẩm này, dưới đây là một số mẹo và trick giúp bạn thống trị tai nghe AirPods của mình.
Một trong những mẹo đầu tiên là sử dụng những thao tác cảm ứng thông minh trên tai nghe. AirPods có khả năng nhận biết thao tác chạm và nhấp nháy, giúp bạn có thể tận hưởng những thông điệp điều khiển như tăng/giảm âm lượng, chuyển tiếp/ngừng phát nhạc chỉ với một cú chạm nhẹ. Bạn có thể tùy chỉnh các thao tác này theo ý thích của mình, tạo ra những lệnh ngắn mà dễ dùng.
Một mẹo khác là kích hoạt tính năng trình diễn Live Listen trên tai nghe AirPods. Điều này cho phép người dùng biến tai nghe thành một chiếc máy trợ thính thông qua việc nghe rõ các âm thanh xung quanh. Điều này có ý nghĩa lớn đối với người có vấn đề về thính giác, hoặc khi bạn muốn nghe một cuộc trò chuyện từ xa.
Bên cạnh đó, công nghệ cập nhật tăng cường noise cancelling trên AirPods Pro cũng là một điểm đặc biệt. Với khả năng lọc tiếng ồn xung quanh, AirPods Pro mang đến trải nghiệm âm nhạc tuyệt vời và môi trường nghe tốt hơn. Bạn sẽ không còn bị quấy rầy bởi tiếng ồn xung quanh và tận hưởng âm thanh sạch sẽ, sống động.
Ngoài ra, việc cố định tai nghe trong tai là một yếu tố quan trọng trong việc tận hưởng âm nhạc thú vị. Với thiết kế Ergonomic Fit, AirPods giúp người dùng dễ dàng cố định chúng trong tai một cách thoải mái và chắc chắn, ngay cả khi bạn đang hoạt động mạnh.
Với tất cả những tính năng và mẹo hay trên, không có lý do gì bạn không nên mua ngay tai nghe AirPods từ @Queen_Mobile. Với đội ngũ phục vụ chuyên nghiệp, Queen Mobile cam kết đem đến cho bạn trải nghiệm mua sắm tuyệt vời và sản phẩm chất lượng hàng đầu. Nhanh chóng ghé thăm Queen Mobile và sở hữu ngay AirPods để khám phá thêm những tính năng tuyệt vời mà chúng mang lại. #Queen_Mobile_mua_ngay, #trải_nghiệm_vượt_trội
Mua ngay sản phẩm tại Việt Nam:QUEEN MOBILE chuyên cung cấp điện thoại Iphone, máy tính bảng Ipad, đồng hồ Smartwatch và các phụ kiện APPLE và các giải pháp điện tử và nhà thông minh. Queen Mobile rất hân hạnh được phục vụ quý khách….
_____________________________________________________
Mua #Điện_thoại #iphone #ipad #macbook #samsung #xiaomi #poco #oppo #snapdragon giá tốt, hãy ghé [𝑸𝑼𝑬𝑬𝑵 𝑴𝑶𝑩𝑰𝑳𝑬] ✿ 149 Hòa Bình, phường Hiệp Tân, quận Tân Phú, TP HCM
✿ 402B, Hai Bà Trưng, P Tân Định, Q 1, HCM
✿ 287 đường 3/2 P 10, Q 10, HCM
Hotline (miễn phí) 19003190
Thu cũ đổi mới
Rẻ hơn hoàn tiền
Góp 0%
Thời gian làm việc: 9h – 21h.
KẾT LUẬN
Bài viết “Best AirPod tips and tricks to master your earbuds” cung cấp cho người dùng AirPod những mẹo và thủ thuật hữu ích để tận dụng tối đa tai nghe không dây của mình. Bài viết bắt đầu bằng việc giới thiệu về sự phổ biến và tiện ích của AirPods, như khả năng kết nối nhanh chóng và chất lượng âm thanh tuyệt vời.
Tiếp theo, bài viết liệt kê một số mẹo và thủ thuật hữu ích cho người dùng AirPod. Một trong những mẹo đó là sử dụng “Find My AirPods” để tìm kiếm tai nghe khi bị đánh rơi. Người dùng cũng có thể tận dụng tính năng “Ear Tip Fit Test” để đảm bảo sự thoải mái khi đeo tai nghe.
Bài viết cũng đề cập đến việc tùy chỉnh các chức năng trên AirPods, bao gồm thay đổi cảm ứng hoặc chỉnh âm lượng thông qua điện thoại di động. Một số mẹo khác bao gồm sử dụng Siri để điều khiển tai nghe và tận dụng tính năng “Spatial Audio” để trải nghiệm âm thanh sống động hơn.
Cuối cùng, bài viết khuyến khích người dùng AirPods thực hiện các cập nhật phần mềm định kỳ để tận hưởng những cải tiến mới nhất. Bài viết nhắc nhở người dùng rằng việc nắm vững những mẹo và thủ thuật này sẽ giúp họ tận hưởng trọn vẹn tiện ích của tai nghe không dây AirPods.
If you have your eyes on a shiny new set of AirPods, we don’t blame you. With multiple lines to choose from a variety of price points, it’s easier to find the right model than ever. Plus, Apple has confirmed that AirPod charging is getting switched to USB-C as well, a huge relief to those who already rely on USB charging for their devices.
ANDROID POLICE VIDEO OF THE DAYSCROLL TO CONTINUE WITH CONTENT
However, unlike some top wireless earbuds, AirPods don’t come with a lot of instructions. They’re designed to be immediately usable: Pop them into your ears near an Apple device, and your job is almost done. But that can also leave new users with a lot of questions about AirPod features and how they work.
Don’t worry, we’ve got a lot of experience with multiple generations of AirPods. Here are the tips and tricks every user should know to help manage controls, save battery life, and lots more.
1 Customize your touch controls

All the latest AirPods have control options that allow you to active modes by pressing on the Pods while they’re in your ears. The most common example is tapping to activiate Siri (otherwise, she’d listen all the time and drain your battery life).
Touch controls have worked differently on different types of AirPods and AirPods Pro, but Apple has been streamlining the experience so that it’s pretty similar for the latest AirPods Pro and AirPods 3. With your AirPods on, you can cruise over to Settings on your Apple device (like an iPhone) and select them at the top of the menu to open their options. There are many changes you can make here, but you’ll want to look for a setting section called Press and Hold for AirPods Pro. This shows a variety of different press commands you can activate. AirPods 3 are more limited, but you still have Call Controls you can customize and the Microphone setting to adjust which AirPod you press. Play around to learn the controls and find out what works best for you.
Oh, and if you’re struggling with the presses, don’t forget to visit the Accessibility Settings option if it’s available on your AirPods. Here you can customize long press speed and other important features.
2 Make sure “Find My” is enabled

AirPod settings do a lot more than help you customize controls. Another section to visit (especially if you aren’t sure if it’s set up or not) is Find My network, which you want toggled on. When first switching Find My on, you’ll probably have to sign into your Apple Account and confirm a couple of questions. Now you can use the Find My app to locate your AirPods.
This step is particularly important because no Apple device gets lost quite like those little AirPods do. You’ll want a way to check if they’ve fallen into seat cushions or got lost in the gym bag or if the dog ate one. Find My allows you to pinpoint either AirPod and the case as needed, including a map of the last spot they were detected. If they have enough battery power left, they can also sound off a chime to help you find them.
3 Flip the case open to check on battery life
Bring your AirPods near an Apple device that they’ve paired with before, and flip up the charging case to “activate” them. This immediately brings a pop-up on the screen that show how much battery life the charging case has, as well as each of the earbuds.
Use this technique to quickly check if you need to charge up your case, or if one earbud isn’t responding because it’s out of power. Sometimes, one earbud won’t charge correctly if its spot in the case is dirty or it wasn’t aligned quite correctly. A quick check like this can help identify these issues so you know what to do next.
4 Get your spatial audio worked out

For the latest generation of AirPods 3 and AirPods Pro, the buds support Spatial Audio. This is an Apple term for using extra audio data in music or movie files courtesy of Dolby Atmos to make sound feel more environmental, giving it depth and even making it seem like it’s coming from a certain direction depending on how you move your head.
But there’s a trick to getting these Spatial Audio details right: If you really want accurate results, you have to personalize them. In Settings, you can select Personalized Spatial Audio and then choose to begin the process. You’ll need an iPhone to take scans of your ears, which is just as weird as it sounds and best done with the help of another person to get it right. However, once Apple has completed the process, your Spatial Audio will be more accurate and less “leaky” in sound quality, which is important for frequent users.
Just keep in mind, you do need a newer iPhone from the past several generations and iOS 16 for this trick, but that shouldn’t be a problem for almost every user.
5 Use AirPods with your Android devices

You can absolutely use AirPods with your Android phone, although you’ll have to accept some built-in limitations. First, you’ll have to pair your AirPods the old-fashioned way: Find the small button on the back and press to hold it down until a white light blinks. This forces a Bluetooth pairing mode so you can look up your Bluetooth list on your Android and find the AirPods to pair them. Once they are paired, your phone should keep recognizing them, although you may have to re-pair after updates.
Essential AirPod sound works just fine on Android devices, and pretty much anything else with Bluetooth (that includes things like a Switch or a smart speaker, too). But the Apple features won’t work on anything but Apple devices. That means you won’t have advantages like Find My, some touch controls, Siri, automatic ear detection or device switching, and other goodies. The AirPods become a much more basic type of earbuds, but you’ll get your audio, and advanced features on the AirPods Pro like active noise cancelling still work
6 Tap into wireless charging
You wouldn’t know at a glance, but most AirPod charging cases are compatible with wireless charging. Apple added support after the AirPods Gen 1, so anything AirPods within the last several years should be compatible. Find a Qi-based charging pad and position your charging case on top. You’ll probably have to nudge it around a bit to get the charging light to turn on, but you’ll still have full charging capabilities with the right positioning.
7 Turn off automatic ear detection
We’re big fans of automatic ear detection, which allows the AirPods to tell when you’ve placed them in your ears or when you’ve taken them out (or they’ve fallen out), so they can play/pause whatever you’re listening to. However, that kind of detection doesn’t work for everyone’s listening habits. If you have a habit of taking out an earbud frequently but don’t want the sound to pause, you may want to turn it off.
Don’t worry, it’s a simple change. Head to Apple Settings, active your AirPods, and select them to head into their menu. Scroll down a bit and you should find the Automatic Ear Detection section. There’s a basic toggle to flip the feature off. Just watch your battery life when it’s not on.
8 Choose what Siri announces

Source: Screenshot
With Siri in your ear, she can pause your music and give you important updates. That may sound a little annoying, but with the right customization it’s an excellent feature. Head to Apple Settings, Notifications, and Announce Notifications to choose which apps to get Siri notifications from. You can find the same Announce Notifications menu in the Siri & Search menu if you prefer.
Feel free to turn off absolutely all announcements except the ones you really want to get. For example, if you have a Nest Doorbell, you can choose to leave Google Home turned on, and get notifications about who has rung your doorbell or approached with a package. There are lots of possibilities here, so adjust it as you use your AirPods to see what’s useful.
9 Don’t forget to periodically clean the charging case

The shiny charging case can get dirt trapped inside over time, which interferes with the charging process. Every few months, grab a cotton swab stick like a Q-Tip and wipe the inside thoroughly to remove all grim. A tiny bit of rubbing alcohol can help clean more stubborn internal stains. Leave your case open for a few hours to thoroughly dry out if you use water or any cleaners on it.
Power to the Pods
With these tips you’re ready to dive into AirPod settings, wirelessly charge, turn off the features you don’t like, and lots more. Since Apple’s adding new features all the time — like the welcome switch to USB-C — we’ll keep an eye on what new tricks are worth learning, too. But if AirPods aren’t really your style or don’t feel wallet-friendly, take minute and check out alternative with the best cheap true wireless earbuds.

